This blog shouldn’t, strictly speaking, be called ‘twelve miles from a lemon’. Things have moved on since Sydney Smith’s day, and I’m about 500 metres from a lemon (about 3 metres if you count the ones in the fridge). No, strictly speaking it should be ‘fifty-five miles or several clicks and an interminable wait for the postie from fresh yeast’. Gripping, huh?
Yup, I ran out.
I’ve ordered some now, of course, but in the meantime I had to find a solution to my immediate bread-free problem that didn’t either involve buying boiled baby’s blankets from the Co-op, waiting a few days to revive my sourdough starter or purchasing some dried yeast which would get used once and languish in the back of the cupboard until I threw it out. I’ve been corrupted, you see, by the delights of using fresh yeast. Unfortunately it can be a pig to get.
But I remembered a friend of mine, a man who has recently returned to breadmaking, telling me about his overnight pre-ferment which used very little yeast. There were some broken bits in the container, and I weighed them out – about 5g.
So I set to. And it worked, and it worked WONDERFULLY. I make no apologies for the sudden appearance of caps; the end result justifies them. In fact, I may take to pre-fermenting my bread on a regular basis. It’s a version of the sponge method, for any other bread nuts out there.
This is what I did. And thanks, Jon!
Basic bread – with an overnight pre-ferment
Makes one large loaf
 For the pre-ferment:
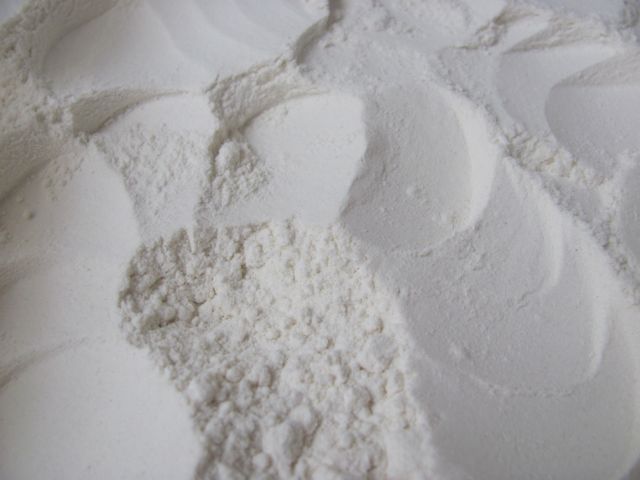
100g wholemeal flour
250g strong white flour
a small pinch of sugar
5g fresh yeast – a teaspoon, roughly
425ml tepid water
Mix the flours and sugar together in a large bowl. Put the yeast in a jug with the water and stir until it is blended in, then add the liquid to the flour. Stir until you have something that looks attractively like wallpaper paste. Ignore its appearance, cover the bowl with cling film and pop it in the fridge overnight.
 You might think this would kill the yeasts, but no; the following morning there should be plenty of bubble action going on. Take the bowl out of the fridge and allow it to come up to room temperature.
Now for the rest of the process.
350g strong white flour
1.5 tsp salt
Mix the flour and salt together in a bowl, then add the bubbly pre-ferment. Stir everything together well, using a spoon at first if you don’t want to get too messy but hands are easier. When the mixture has begun to come together as a dough, tip it out onto a lightly floured work surface.
Start kneading, firmly pushing the dough away, bringing it back towards you and turning it as you go, and do so for 10 minutes; I set a timer or I give up too early. The texture of the dough will change – it starts to feel silky – and it should become much warmer to the touch. Roll it into a ball, put it in a large bowl and cover with cling film. Set it aside to prove (aka rise) for about an hour or so, until approximately doubled in size.
 Then take the dough out of the bowl and knead it lightly once more, shaping it into a round ball (or in my case, a sort of oval ball; perhaps I was influenced in my choice by the rugby that was going on at the time).
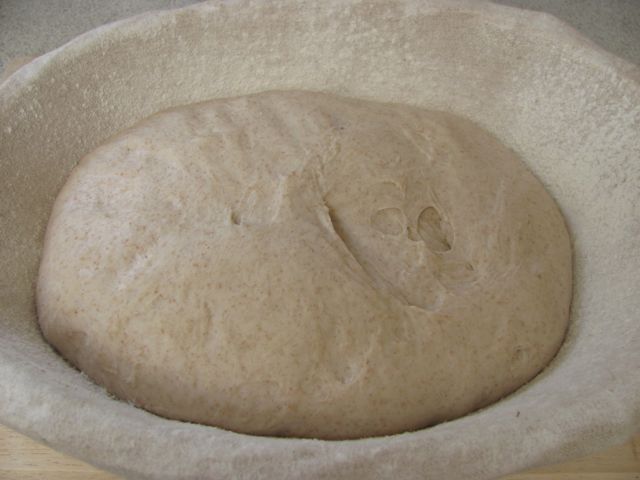
I use French bannetons – linen-lined proving baskets which are old, well floured and were dirt cheap in Carrefour – for the next stage, but the bread can also be put into an oiled and floured tin. (Personally, I find it spreads a bit much sideways if I just put it on a baking sheet, but I am the Queen of Sloppy Dough.)
Put the dough in the basket (or whatever), untidy side uppermost. Cover it with a clear plastic bag, pulling the bag up so there is no danger of the rising dough touching the bag.*
 Leave it in a warm place to rise until doubled in size again. This may take less time, possibly about 45 minutes. In the meanwhile preheat the oven to at least 220 degrees C, GM7 – you want it as hot as you can get it, really.
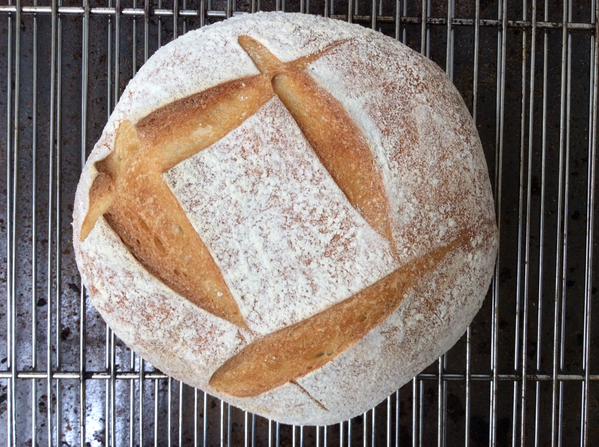
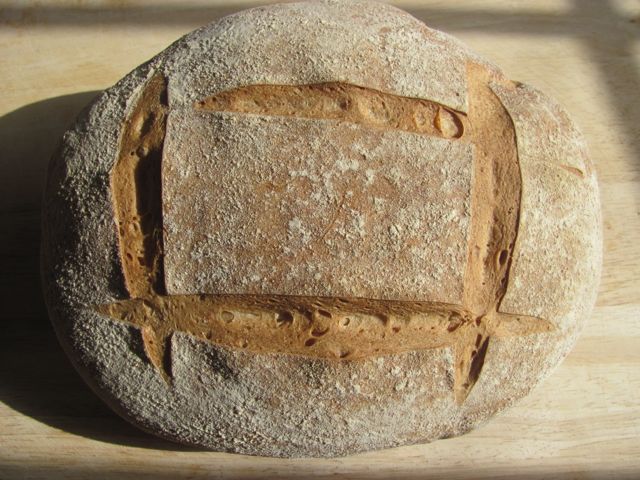
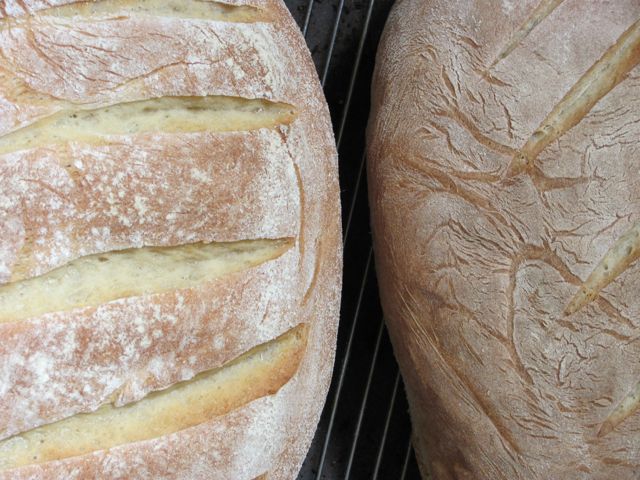
Put a lightly-oiled baking tray over the top of the basket and turn it over, carefully holding the basket in place; the dough will drop down and the basket can be easily lifted off. Slash the loaf three or four times with a really sharp knife – a sharp bread knife is good, or a purpose-made blade known as a lame or grignette – and put it in the oven quickly.
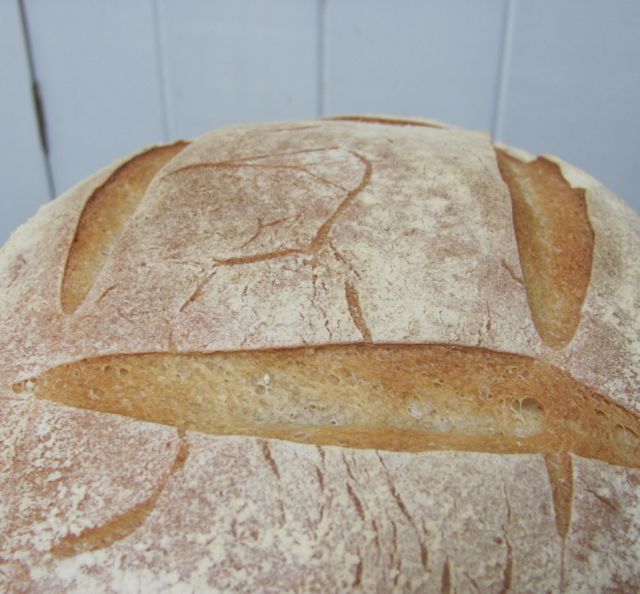
 Bake for 30-35 minutes – until the base sounds hollow when rapped, and the top looks golden-brown and delicious.
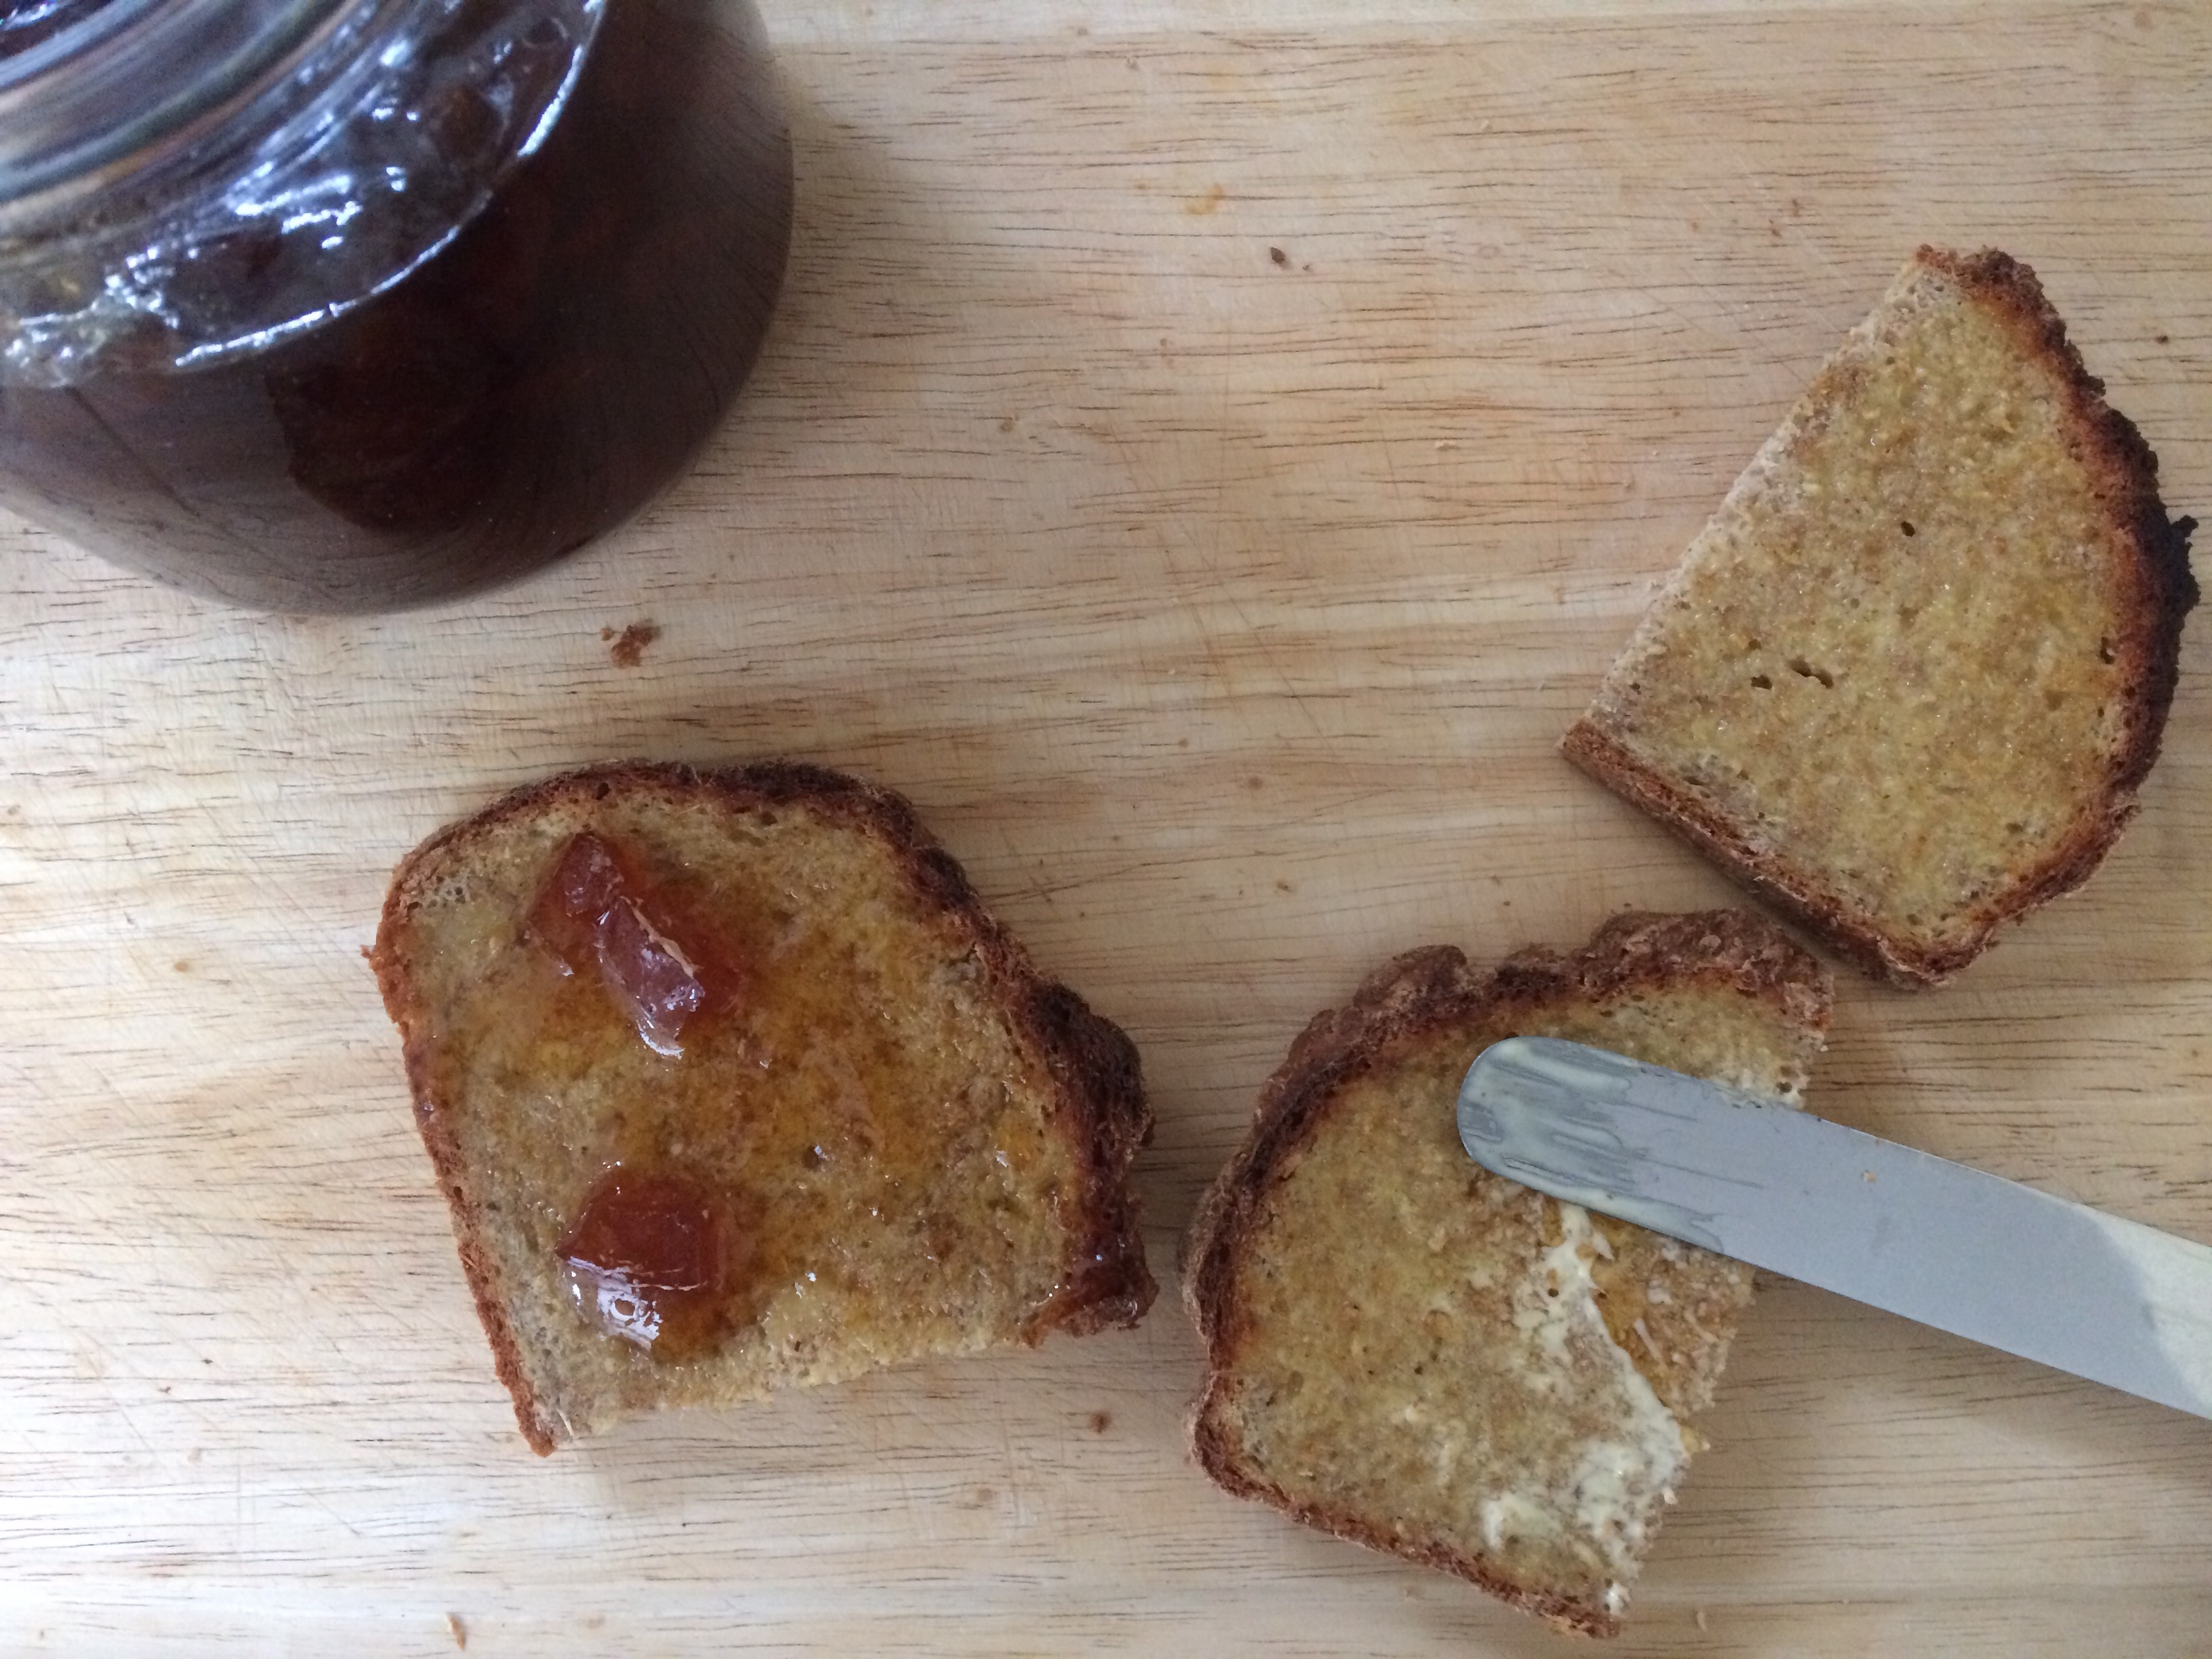
Cool the loaf on a rack, and resist the temptation to eat the lot. Like all loaves, it slices more easily the following day, but it did have to be sampled yesterday. Especially the crust. With raspberry jam. Might have been poisoned or tasted vile. You never know…This was, after all, an experiment.
And?
Well, I have to say that I found this loaf every bit as good as my normal loaf – in fact, possibly even more flavoursome. And, of course, it is much more economical with the yeast, certainly something to consider when the fresh stuff can be so fiddly to obtain.

Note:
I love Bakery Bits for potential supplies – but it’s not cheap and I tend to use it for drooling and idle speculation. On the other hand, if I find myself in a perfectly ordinary French supermarket I automatically head for the homewares section. I’ve found round bannetons, long bannetons, oval bannetons – and all linen-lined and costing a fraction of what I’d pay online or in a posh kitchen supplies shop. Sometimes they are evidently intended to have a decorative purpose, but even those which lurk among the cushions and tablecloths are usually perfectly practical. And are just a few euros.
*Plastic bag + sticky dough = unbelieveable mess. Ectoplasm. Something from Withnail’s sink – matter. Worse. Ergh.